Difference between revisions of "2D Space Shooter Part 2: Background"
m (Text replacement - "<source" to "<syntaxhighlight") |
|||
| Line 1: | Line 1: | ||
== A bit of set up == | == A bit of set up == | ||
| − | Let's begin by setting up | + | Let's begin by setting up some folder. |
| + | |||
| + | We want a scrolling starry background, so let's add it to the project: | ||
| + | * Create a folder named 'gfx' under 'Files' in your gideros project | ||
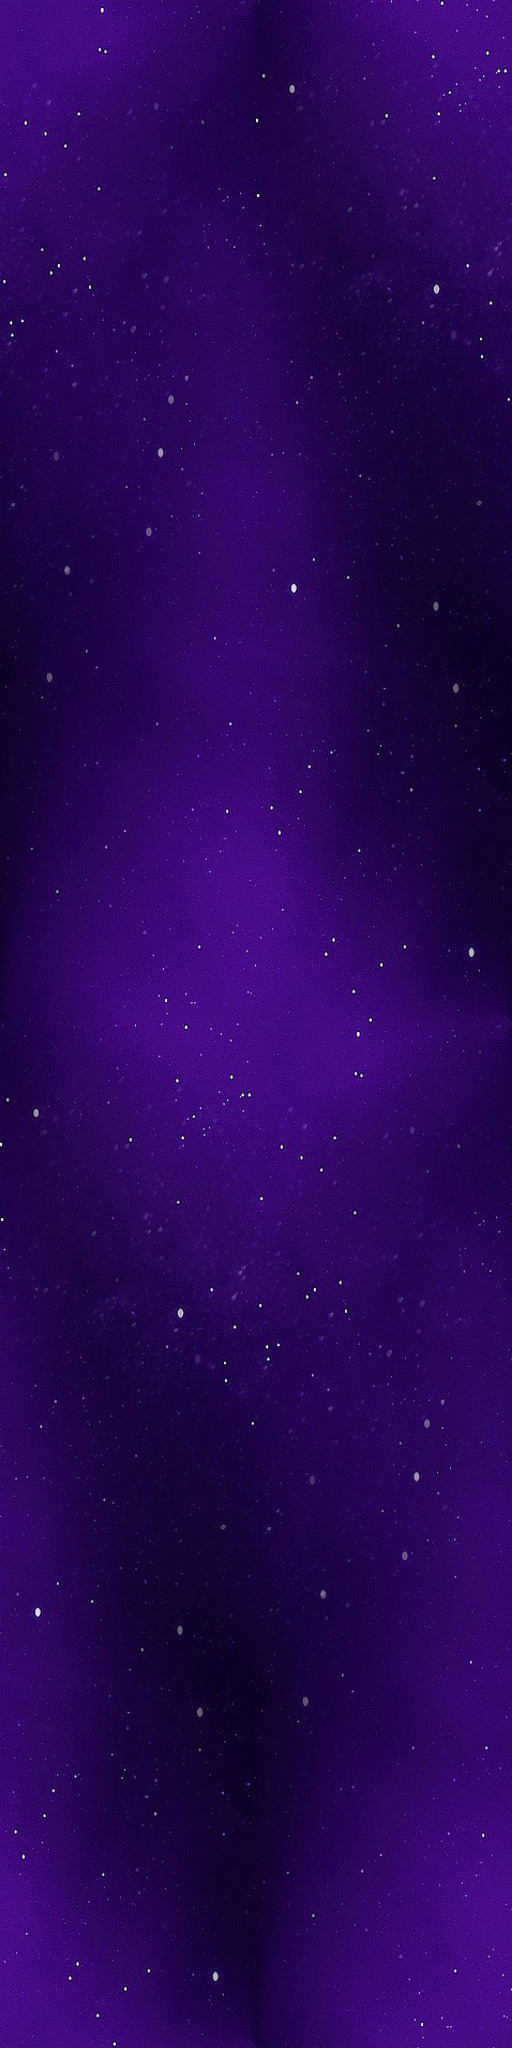
| + | * Download the '''[[Media:2D Spaceshooter Star far.jpg|starry background texture]]''' on your computer, rename it to ''''star_far.jpg'''', and add it to your project under the 'gfx' folder you just created | ||
| − | |||
| − | |||
Because it is repeatable, its dimensions must be a power of two. I choosed a width of 512 for the texture, so let's configure our project according to that width. | Because it is repeatable, its dimensions must be a power of two. I choosed a width of 512 for the texture, so let's configure our project according to that width. | ||
| − | In your project settings (create a new project for this tutorial if not already done!), go the 'Graphics' tab and set: | + | In your project settings (create a new project for this tutorial if not already done!), go to the 'Graphics' tab and set: |
* Scale mode to 'Fit Width' | * Scale mode to 'Fit Width' | ||
* Logical dimensions to 512 x 1024 | * Logical dimensions to 512 x 1024 | ||
* Orientation to portrait | * Orientation to portrait | ||
| − | This will ensure that whatever the phone size is, our canvas will have a width of 512. The height doesn't matter actually, you can use anything instead of 1024 but it is convenient to specify something sensible, that is taller than | + | This will ensure that whatever the phone size is, our canvas will have a width of 512. The height doesn't matter actually, you can use anything instead of 1024 but it is convenient to specify something sensible, that is taller than the width, since we want our game to be in portrait. |
However we'll need to figure out the actual height and logical position of our screen at run time, in order to place our graphics on the stage. | However we'll need to figure out the actual height and logical position of our screen at run time, in order to place our graphics on the stage. | ||
| Line 28: | Line 30: | ||
-- Create the background object with the screen size | -- Create the background object with the screen size | ||
-- Width should be 512 per project settings, but we'll compute it anyway to avoid relying on constants | -- Width should be 512 per project settings, but we'll compute it anyway to avoid relying on constants | ||
| − | local background=Background.new(SCR_RIGHT-SCR_LEFT,SCR_BOTTOM-SCR_TOP) | + | local background=Background.new(SCR_RIGHT-SCR_LEFT, SCR_BOTTOM-SCR_TOP) |
-- Add it to stage | -- Add it to stage | ||
stage:addChild(background) | stage:addChild(background) | ||
| Line 51: | Line 53: | ||
-- Create the background object with the screen size | -- Create the background object with the screen size | ||
-- Width should be 512 per project settings, but we'll compute it anyway to avoid relying on constants | -- Width should be 512 per project settings, but we'll compute it anyway to avoid relying on constants | ||
| − | local background=Background.new(SCR_RIGHT-SCR_LEFT,SCR_BOTTOM-SCR_TOP) | + | local background=Background.new(SCR_RIGHT-SCR_LEFT, SCR_BOTTOM-SCR_TOP) |
-- Add it to stage | -- Add it to stage | ||
stage:addChild(background) | stage:addChild(background) | ||
| Line 66: | Line 68: | ||
== A basic background object == | == A basic background object == | ||
Create a new lua file and call it 'background.lua'. In this file, we'll define the 'Background' class. | Create a new lua file and call it 'background.lua'. In this file, we'll define the 'Background' class. | ||
| + | |||
Our background object will mostly display an image, so let our Background class be a subclass of Gideros Pixel object: | Our background object will mostly display an image, so let our Background class be a subclass of Gideros Pixel object: | ||
| − | |||
<syntaxhighlight lang="lua"> | <syntaxhighlight lang="lua"> | ||
-- Our Background will be a subclass of Gideros Pixel. | -- Our Background will be a subclass of Gideros Pixel. | ||
| Line 103: | Line 105: | ||
This tells Gideros to load our image called 'star_far.jpg' from the 'gfx' folder of your project structure, and make it a texture. We also ask gideros to enable filtering ('true') and that the texture should repeat the image ('{ wrap=TextureBase.REPEAT }'). | This tells Gideros to load our image called 'star_far.jpg' from the 'gfx' folder of your project structure, and make it a texture. We also ask gideros to enable filtering ('true') and that the texture should repeat the image ('{ wrap=TextureBase.REPEAT }'). | ||
We then assign this texture to our background object. Remember that Background is a subclass of Pixel, so it has all properties and methods of a Pixel object. | We then assign this texture to our background object. Remember that Background is a subclass of Pixel, so it has all properties and methods of a Pixel object. | ||
| + | |||
The final line changes the size of the background to the dimensions given in arguments. | The final line changes the size of the background to the dimensions given in arguments. | ||
| − | |||
| − | |||
| − | |||
| − | |||
Your project should now run and show a space background. | Your project should now run and show a space background. | ||
| − | |||
| − | |||
== A nicer background == | == A nicer background == | ||
At last something is shown, but it doesn't look quite good for a space shooter game. Let's spice it up by adding a second layer. You noticed that I called the first 'far' right, that's because I had in mind to a 'near' layer since the beginning. | At last something is shown, but it doesn't look quite good for a space shooter game. Let's spice it up by adding a second layer. You noticed that I called the first 'far' right, that's because I had in mind to a 'near' layer since the beginning. | ||
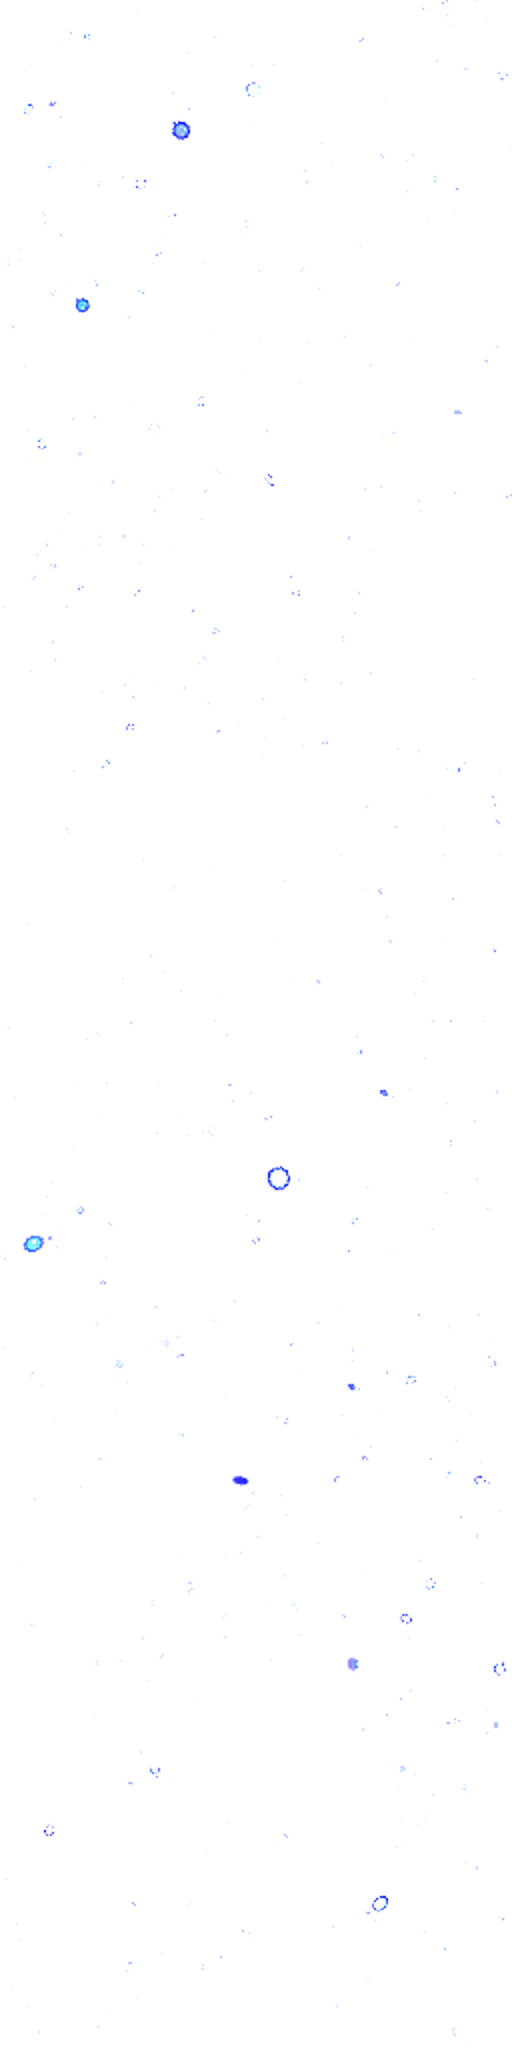
| − | This second layer will be built just as the first, so grab | + | This second layer will be built just as the first, so grab the texture file now from '''[[Media:2D Spaceshooter Star near.png|here]]''', rename it to ''''star_near.png'''', and add it to your project under the 'gfx' folder too. |
Now change your 'Background:init' function to load the new texture and add a second Pixel sprite on top of our background object: | Now change your 'Background:init' function to load the new texture and add a second Pixel sprite on top of our background object: | ||
| Line 123: | Line 120: | ||
--Load the textures | --Load the textures | ||
local far=Texture.new("gfx/star_far.jpg",true, { wrap=TextureBase.REPEAT }) | local far=Texture.new("gfx/star_far.jpg",true, { wrap=TextureBase.REPEAT }) | ||
| − | local near=Texture.new("gfx/star_near.png",true, { wrap=TextureBase.REPEAT }) | + | local near=Texture.new("gfx/star_near.png",true, { wrap=TextureBase.REPEAT }) |
--Set up the far view | --Set up the far view | ||
self:setTexture(far) | self:setTexture(far) | ||
| Line 135: | Line 132: | ||
</syntaxhighlight> | </syntaxhighlight> | ||
| − | Noticed the last line ? We are going to | + | Noticed the last line? We are going to move our background with the 'Background:advance' method, so that last line initializes the position to 0. You can check the result of the addition of the second layer right now by running your project, but it won't be much better than before. |
| − | Let's add a bit of movement | + | Let's add a bit of movement by adding some code in our 'Background:advance' method. |
<syntaxhighlight lang="lua"> | <syntaxhighlight lang="lua"> | ||
function Background:advance(amount) | function Background:advance(amount) | ||
self.position+=amount | self.position+=amount | ||
self:setTexturePosition(0,self.position/3) --Far view advances much slower | self:setTexturePosition(0,self.position/3) --Far view advances much slower | ||
| − | self.near:setTexturePosition(0,self.position) | + | self.near:setTexturePosition(0,self.position) |
end | end | ||
</syntaxhighlight> | </syntaxhighlight> | ||
| Line 153: | Line 150: | ||
Nice isn't it ? | Nice isn't it ? | ||
| − | [[2D Space Shooter Part 3: Ships]] | + | '''Next: [[2D Space Shooter Part 3: Ships]]''' |
| + | |||
| + | {{GIDEROS IMPORTANT LINKS}} | ||
Revision as of 22:53, 11 November 2023
A bit of set up
Let's begin by setting up some folder.
We want a scrolling starry background, so let's add it to the project:
- Create a folder named 'gfx' under 'Files' in your gideros project
- Download the starry background texture on your computer, rename it to 'star_far.jpg', and add it to your project under the 'gfx' folder you just created
Because it is repeatable, its dimensions must be a power of two. I choosed a width of 512 for the texture, so let's configure our project according to that width.
In your project settings (create a new project for this tutorial if not already done!), go to the 'Graphics' tab and set:
- Scale mode to 'Fit Width'
- Logical dimensions to 512 x 1024
- Orientation to portrait
This will ensure that whatever the phone size is, our canvas will have a width of 512. The height doesn't matter actually, you can use anything instead of 1024 but it is convenient to specify something sensible, that is taller than the width, since we want our game to be in portrait.
However we'll need to figure out the actual height and logical position of our screen at run time, in order to place our graphics on the stage.
The code below will do what we want, and we'll place it at the very top of our main.lua:
-- Compute screen bounds
SCR_LEFT,SCR_TOP,SCR_RIGHT,SCR_BOTTOM=application:getLogicalBounds()
Here we ask Gideros for the actual screen bounds in canvas space, and store them in global variables so that they can be accessed from anywhere in the code. They will be useful for positionning objects, but also for checking if objects go out of bounds.
To avoid confusion, I'll always declare my global variables in upper case, but of course you are free to use another convention.
Next step is to create our background and put it on stage. To keep our code clean, let's handle the background image as an object of class Background. We'll define it after.
-- Create the background object with the screen size
-- Width should be 512 per project settings, but we'll compute it anyway to avoid relying on constants
local background=Background.new(SCR_RIGHT-SCR_LEFT, SCR_BOTTOM-SCR_TOP)
-- Add it to stage
stage:addChild(background)
background:setY(SCR_TOP)
Our background will move as our spaceship progress through the game. We'll make it 'advance' in our game loop:
-- This is our game loop
stage:addEventListener(Event.ENTER_FRAME,function ()
	background:advance(1)
end)
The code of our game loop will be called on each animation frame, 60 times per second. In it, we call the 'advance' method of the background object with a parameter telling it by how much we want to 'move'. This will allow us to alter game speed later if we ever need to.
So far our main.lua contains:
-- Compute screen bounds
SCR_LEFT,SCR_TOP,SCR_RIGHT,SCR_BOTTOM=application:getLogicalBounds()

-- Create the background object with the screen size
-- Width should be 512 per project settings, but we'll compute it anyway to avoid relying on constants
local background=Background.new(SCR_RIGHT-SCR_LEFT, SCR_BOTTOM-SCR_TOP)
-- Add it to stage
stage:addChild(background)
background:setY(SCR_TOP)

-- This is our game loop
stage:addEventListener(Event.ENTER_FRAME,function ()
	background:advance(1)
end)
You can try to launch your project, but obviously it won't run yet, because we didn't define the 'Background' class.
A basic background object
Create a new lua file and call it 'background.lua'. In this file, we'll define the 'Background' class.
Our background object will mostly display an image, so let our Background class be a subclass of Gideros Pixel object:
-- Our Background will be a subclass of Gideros Pixel.
-- Here we pass an empty constructor function so that the pixel is initialized with defaults
-- We'll intilialize it by code later
Background=Core.class(Pixel,function () end)
The second argument to the Core.class function is used to specify the parameters to use when constructing the 'Pixel' we inherit from. Here this is just an empty function, meaning that we don't pass any parameters to the Pixel.new that will be called internally.
Now let's add empty functions for our class so that our code runs.
--Initialize our background with the given width and height
function Background:init(w,h)
end

function Background:advance(amount)
end
The 'init' method will be called by main.lua during 'Background.new', while the 'advance' method is called from our main loop. If you start a Gideros Player and hit play, our code will run, but won't show anything.
Let's add some code to:
- load our texture
- attach it to our background
Add code to your empty 'Background:init' function:
function Background:init(w,h)
	local far=Texture.new("gfx/star_far.jpg",true, { wrap=TextureBase.REPEAT })
	--Set up the far view
	self:setTexture(far)
	self:setDimensions(w,h)
end
This tells Gideros to load our image called 'star_far.jpg' from the 'gfx' folder of your project structure, and make it a texture. We also ask gideros to enable filtering ('true') and that the texture should repeat the image ('{ wrap=TextureBase.REPEAT }'). We then assign this texture to our background object. Remember that Background is a subclass of Pixel, so it has all properties and methods of a Pixel object.
The final line changes the size of the background to the dimensions given in arguments.
Your project should now run and show a space background.
A nicer background
At last something is shown, but it doesn't look quite good for a space shooter game. Let's spice it up by adding a second layer. You noticed that I called the first 'far' right, that's because I had in mind to a 'near' layer since the beginning.
This second layer will be built just as the first, so grab the texture file now from here, rename it to 'star_near.png', and add it to your project under the 'gfx' folder too.
Now change your 'Background:init' function to load the new texture and add a second Pixel sprite on top of our background object:
function Background:init(w,h)
	--Load the textures
	local far=Texture.new("gfx/star_far.jpg",true, { wrap=TextureBase.REPEAT })
	local near=Texture.new("gfx/star_near.png",true, { wrap=TextureBase.REPEAT })
	--Set up the far view
	self:setTexture(far)
	self:setDimensions(w,h)
	--Create the near view on top of us
	self.near=Pixel.new(near,w,h)
	self:addChild(self.near)
	--Start at position 0. We don't really care what that means since our texture is repeating
	self.position=0
end
Noticed the last line? We are going to move our background with the 'Background:advance' method, so that last line initializes the position to 0. You can check the result of the addition of the second layer right now by running your project, but it won't be much better than before.
Let's add a bit of movement by adding some code in our 'Background:advance' method.
function Background:advance(amount)
	self.position+=amount
	self:setTexturePosition(0,self.position/3) --Far view advances much slower
	self.near:setTexturePosition(0,self.position)
end
This piece of code is rather straightforward: we incremement our position with the given amount, then change our two textures y origins, making them scroll vertically. The trick here is to move the 'far' layer slower than the 'near' layer, to give an impression of depth.
If all goes right, you should end up with the following result:
Nice isn't it ?
Next: 2D Space Shooter Part 3: Ships